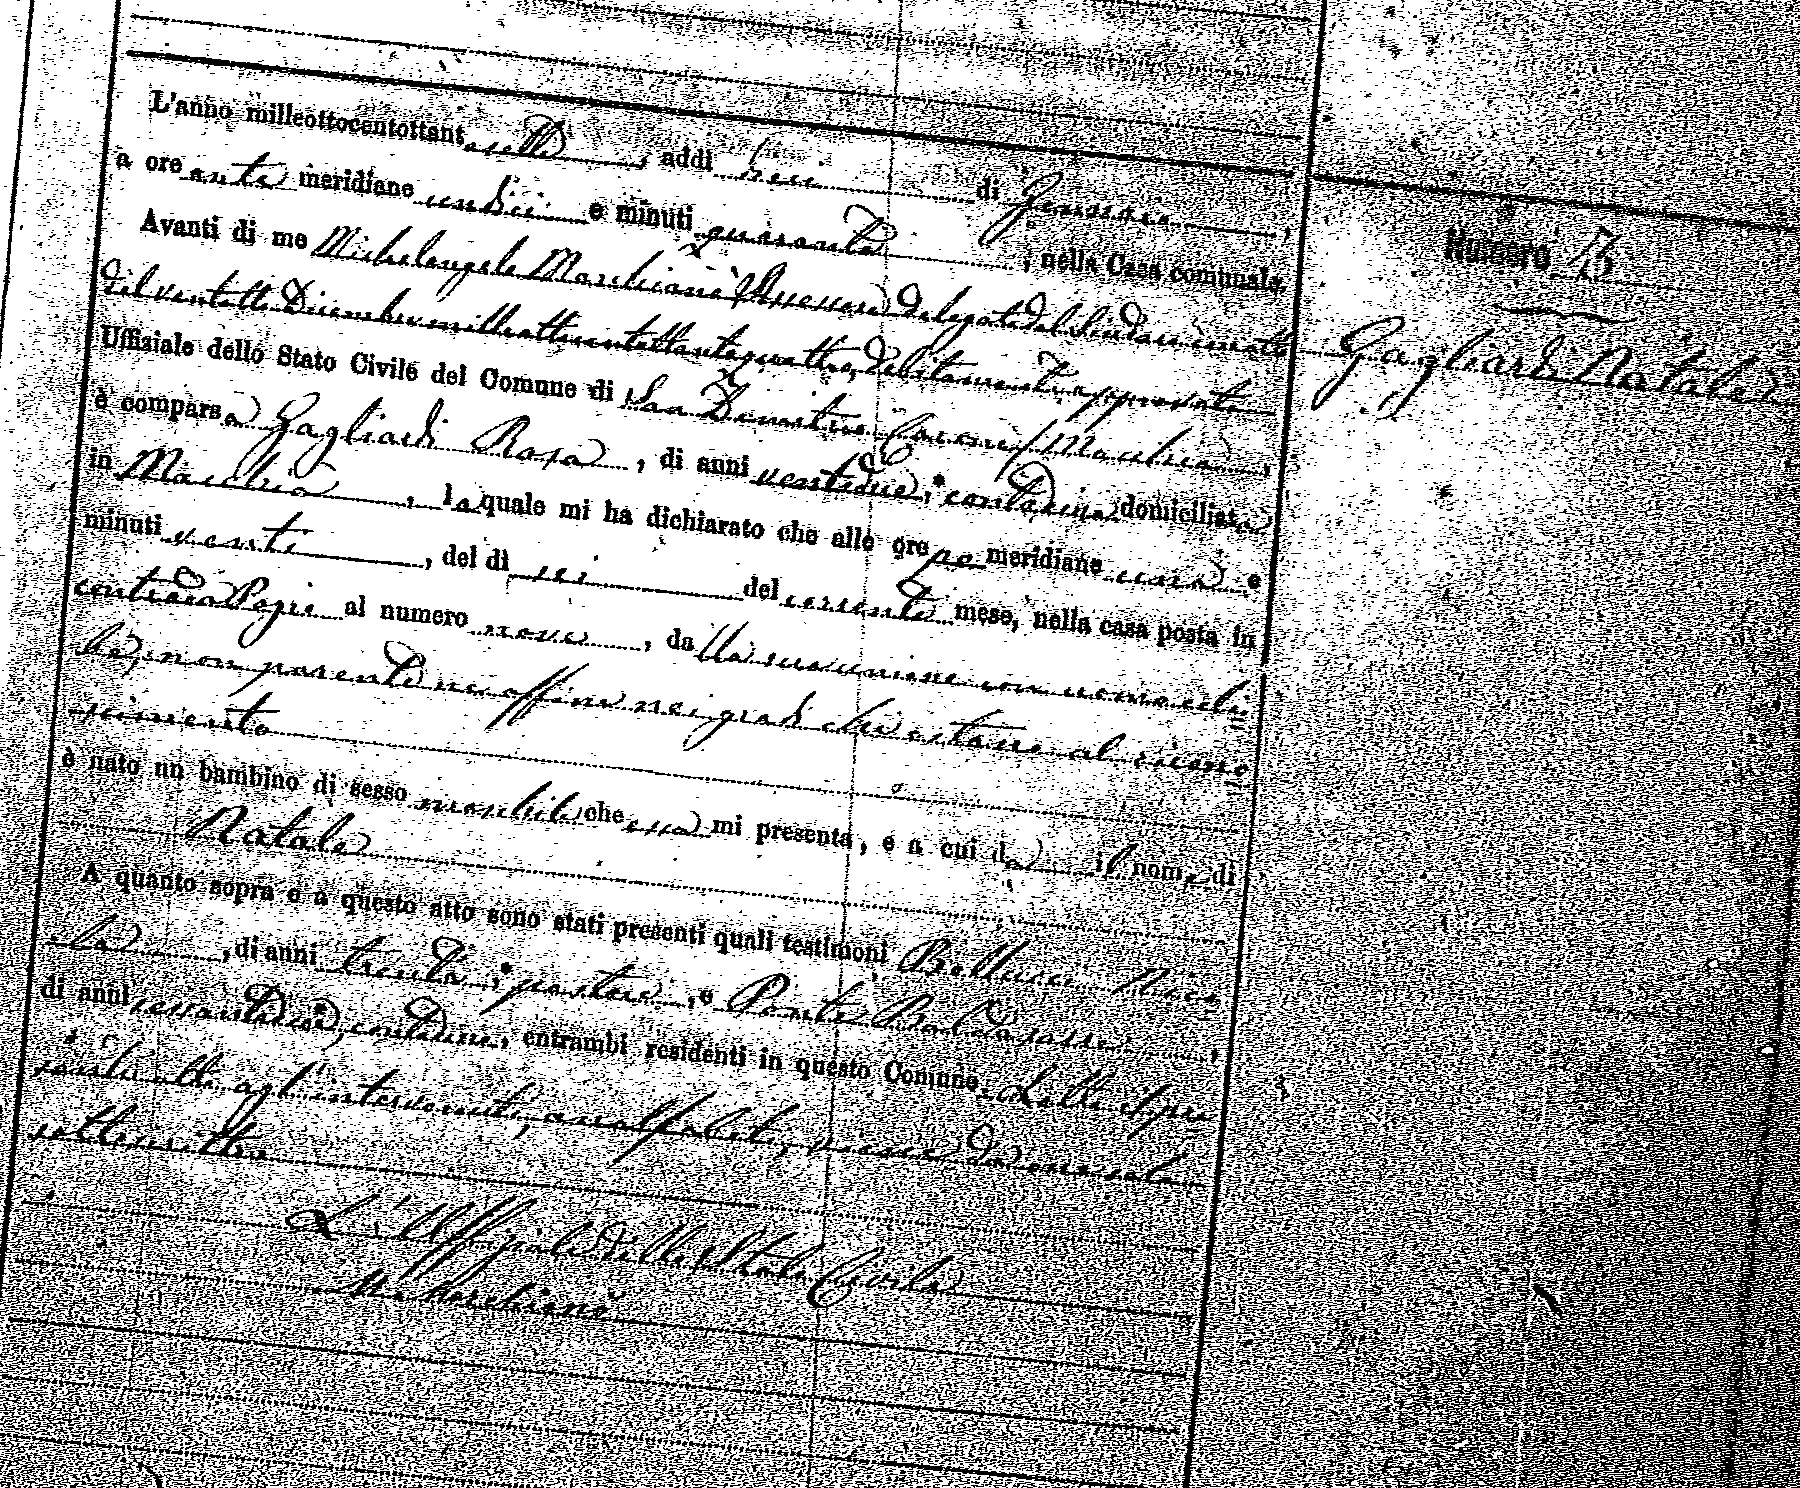
Natale Gagliardi and his birth record. I think this is the brother of Guilia or Julia Guagliardi who I am trying to find more information on.
Month: January 2009
So in an effort to further my skills and my pure geekness as a CIT major and a cleanfreak in general I have drastically improved my knowledge by trial and error yet once again. The trying and erroring was mostly done by me and one question to codekoala and the mystery solved. So the situation is I sometimes want to download a large file and i don’t want to have use firefox and open the whole browser. Well I also want to use a completely native application on my mac just for the sake of keeping my mac not clogged up with so much stuff. I could have installed macports and I actually did to use wget from within the command line but curl is already native and so I started experimenting with it. At first I just did: curl URL As you very well may know this just spitts the download to standard out and prints I think ASCII to the screen as it is being downloaded. Well, my very limted knowledge of linux and unix told me well just see what happens, maybe the file will show up. So I started checking in the directory, nothing. So then codekoala came online, I asked him and he told me.
So here is the command:
curl -O url
what the -O does: it says instead of spit this out as standard out on the command line put it to the file with the same name as it has on the web server.
Don’t I feel like a smart one. 🙂
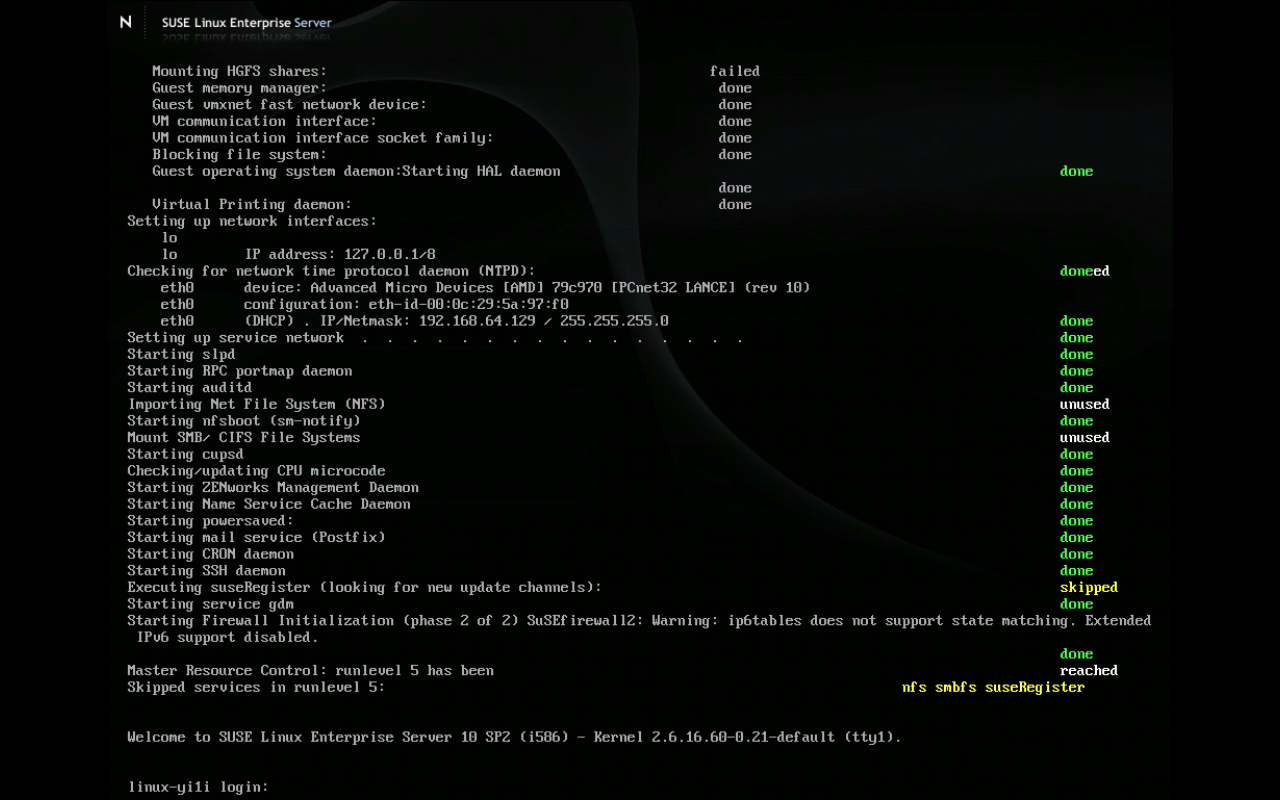
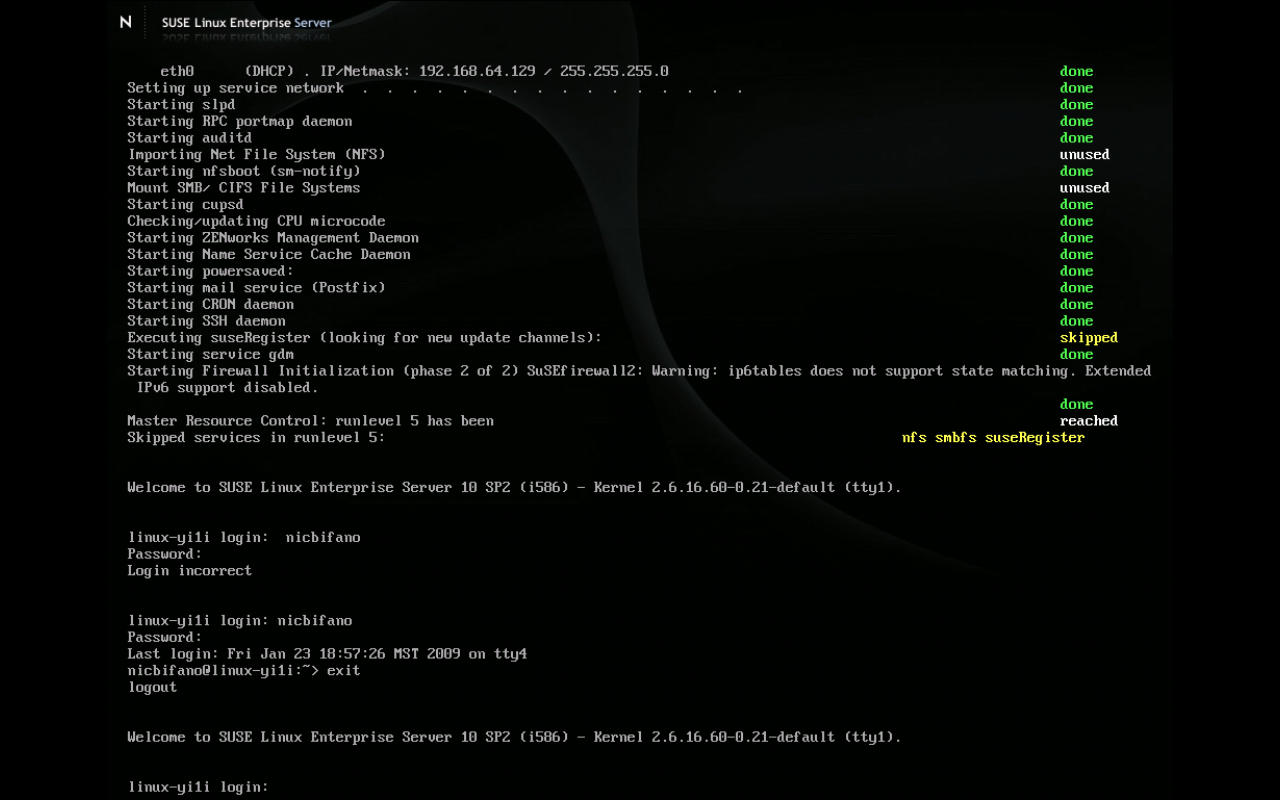
- Switch the first virtual terminal by pressing ctrl + alt + f1. to get the f1 to go i have to press the function button.

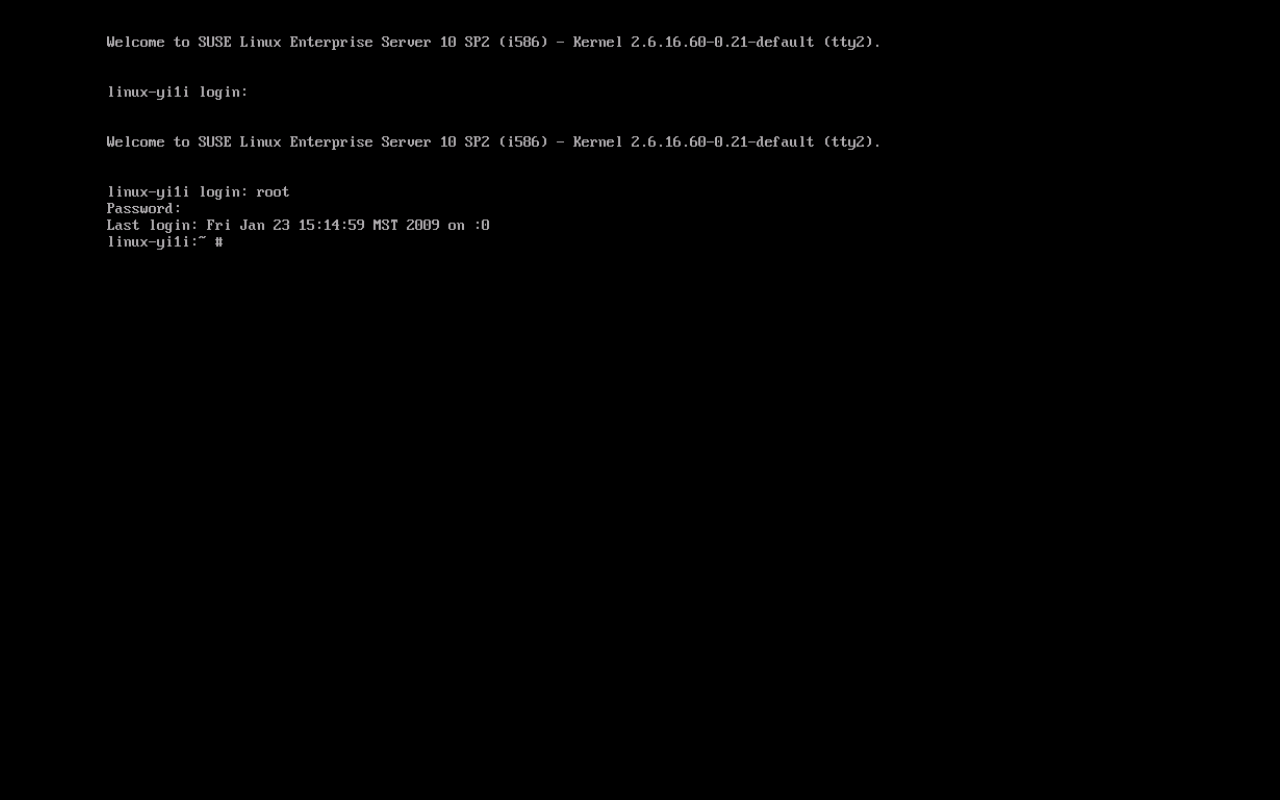
- switch to second virtual terminal with ctrl + alt + f2

- logout by typing exit

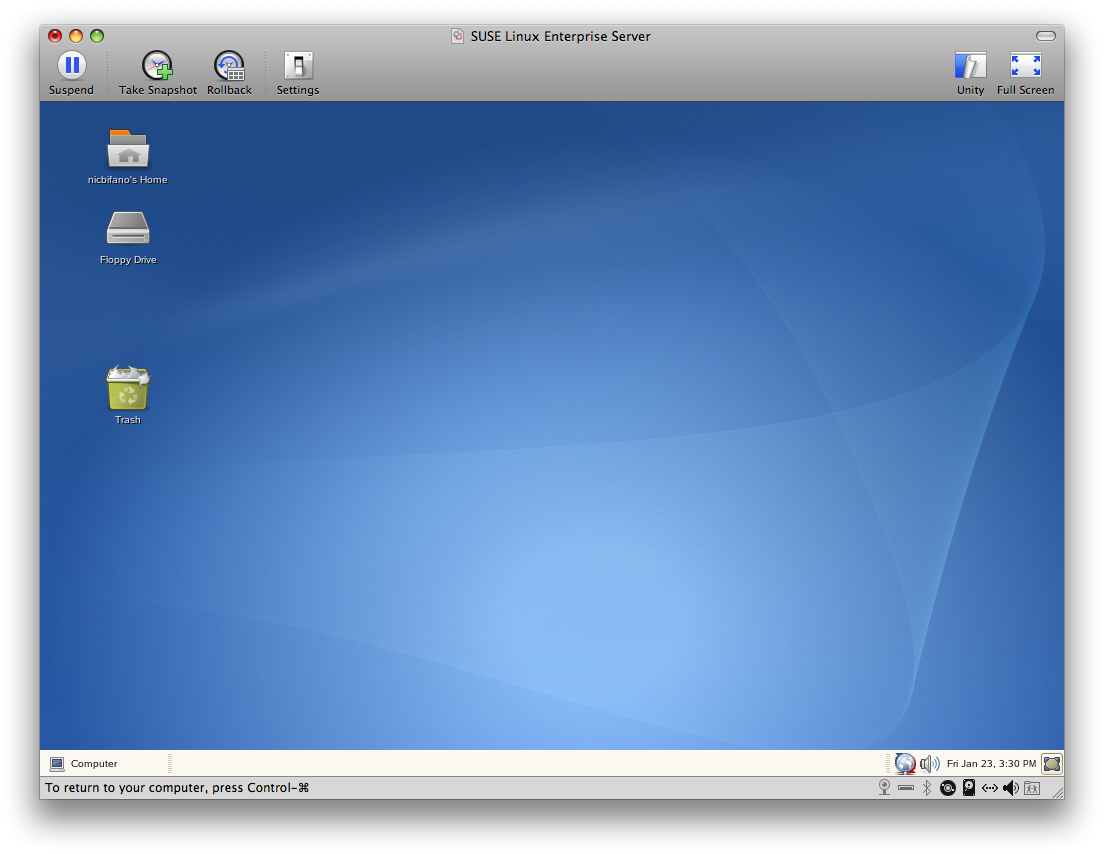
- Logged in to Gnome Desktop environment

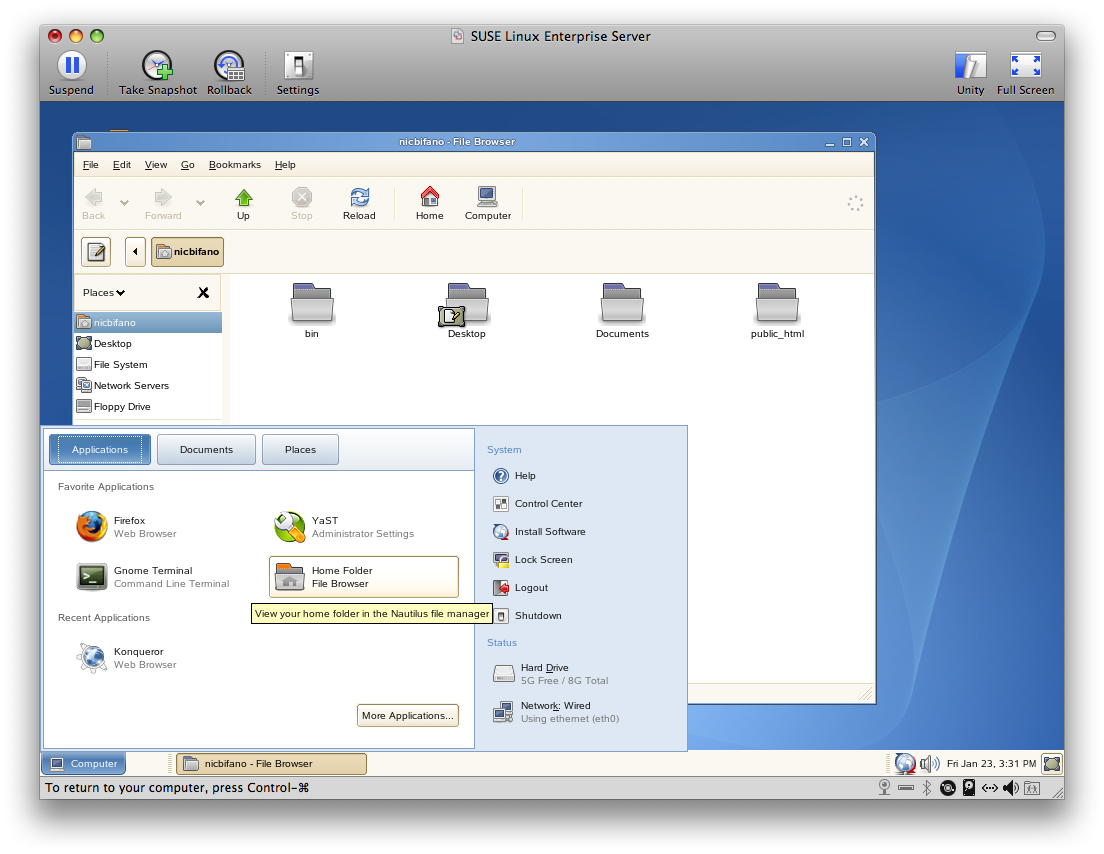
- Started nautilus file manager from menu:

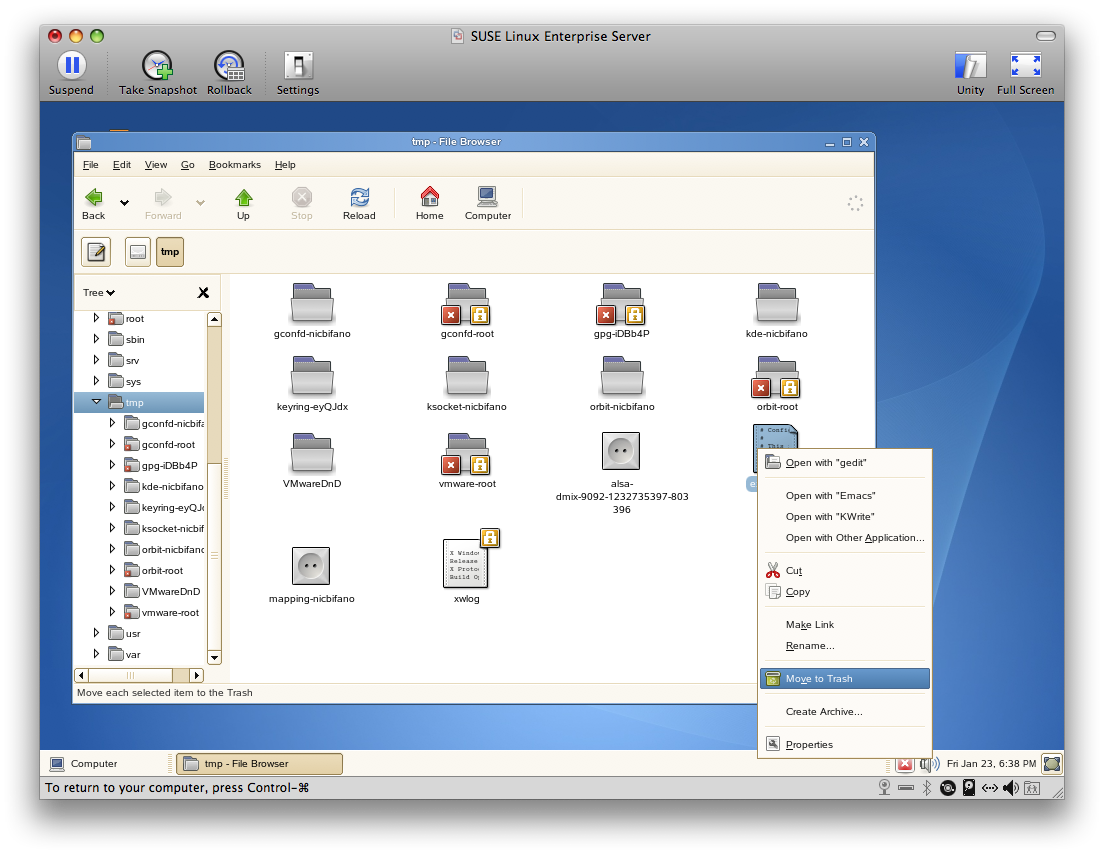
- Moved example.txt to trash

- Log out:

- Logged in

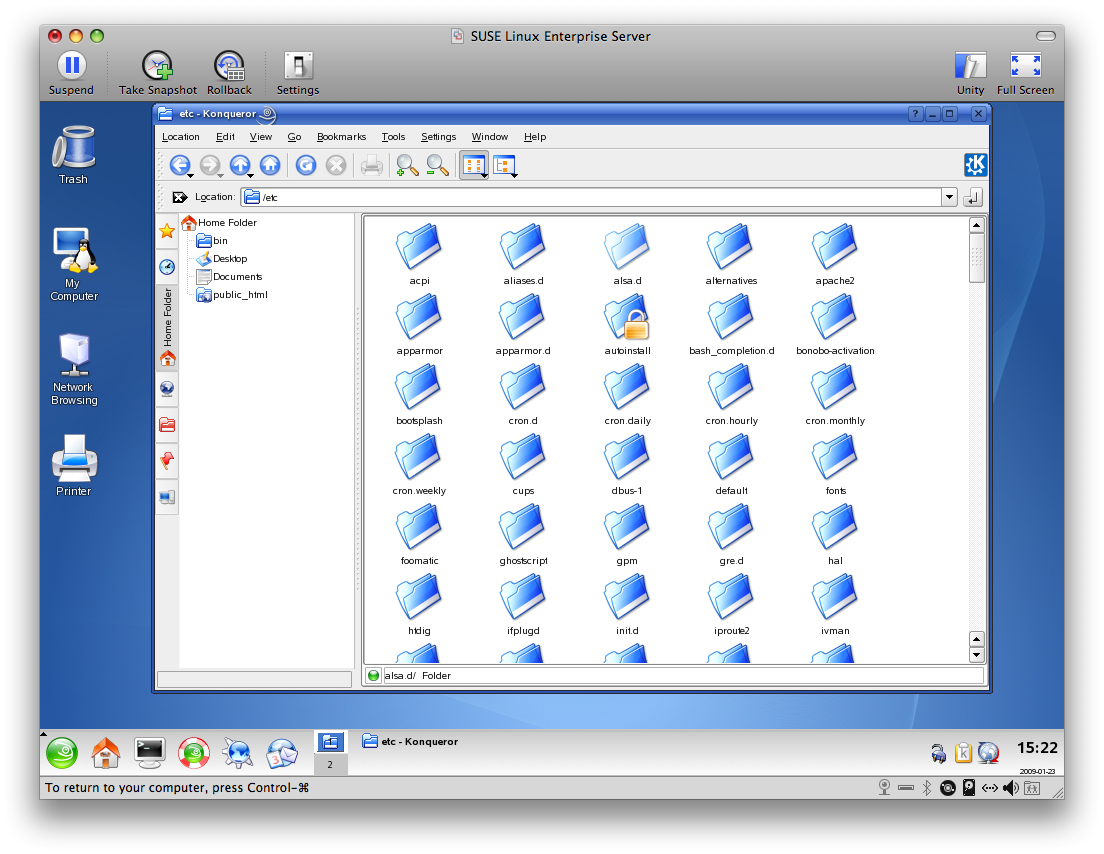
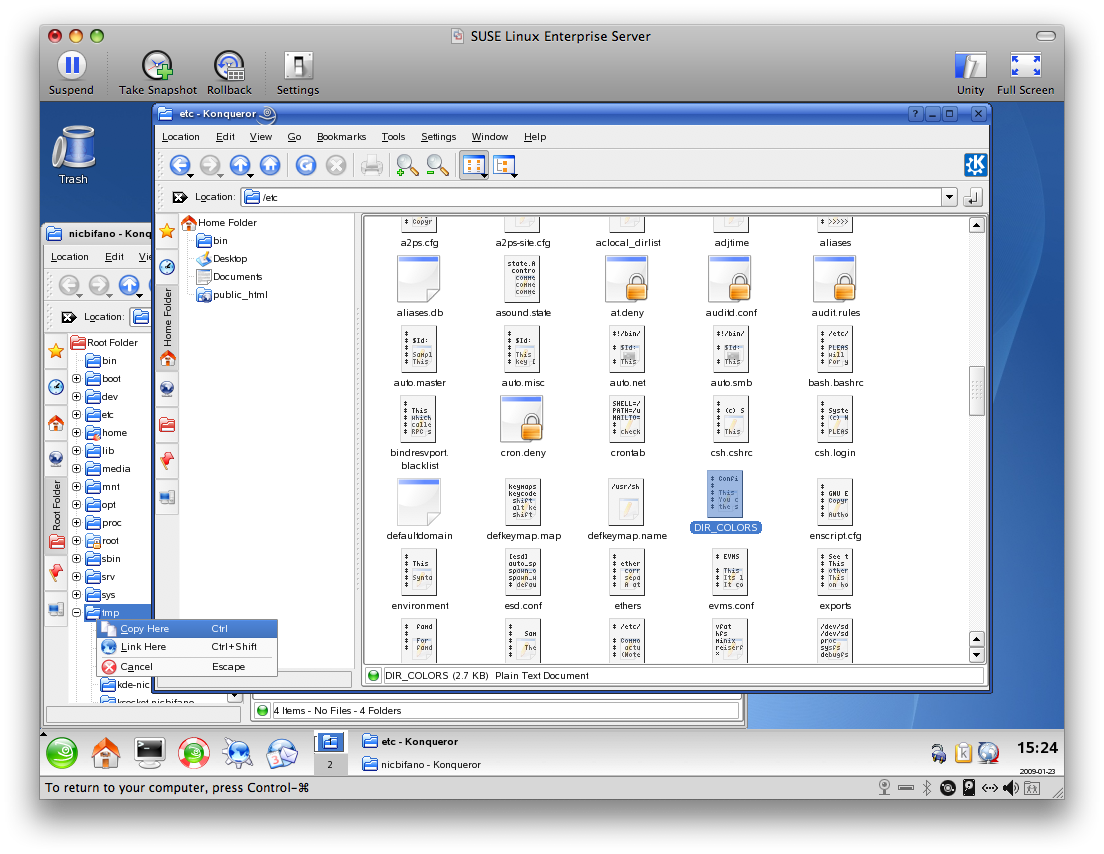
- started file manager Konquerer
- View contents of /etc/ directory

- Copy the file Dir_Colors

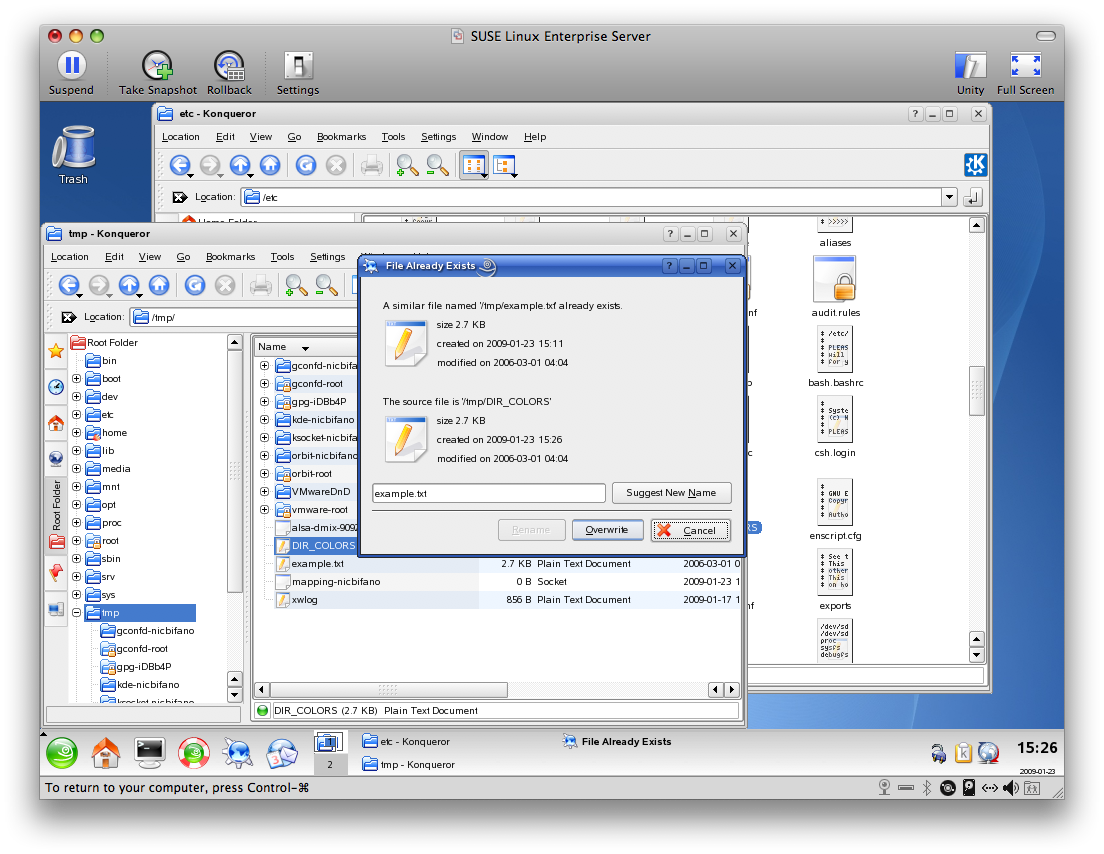
- Rename the DIR_COLORSfile to example.txt

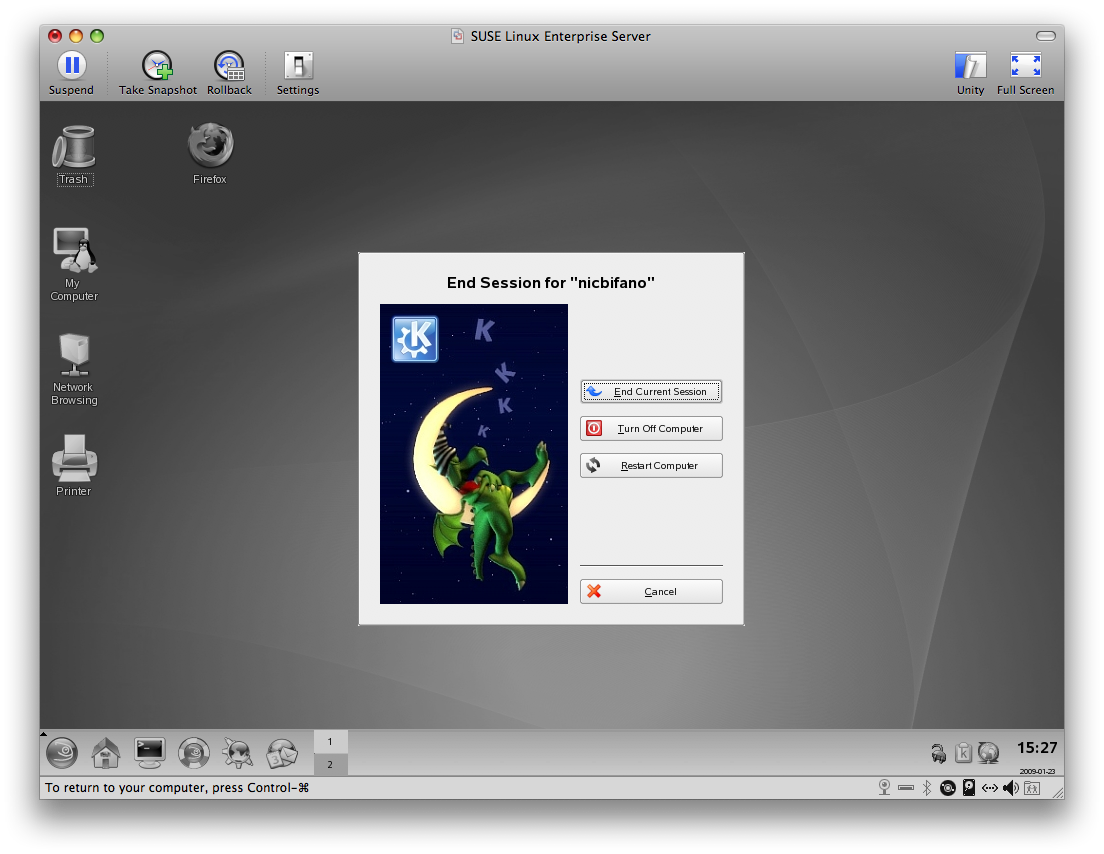
- Logout

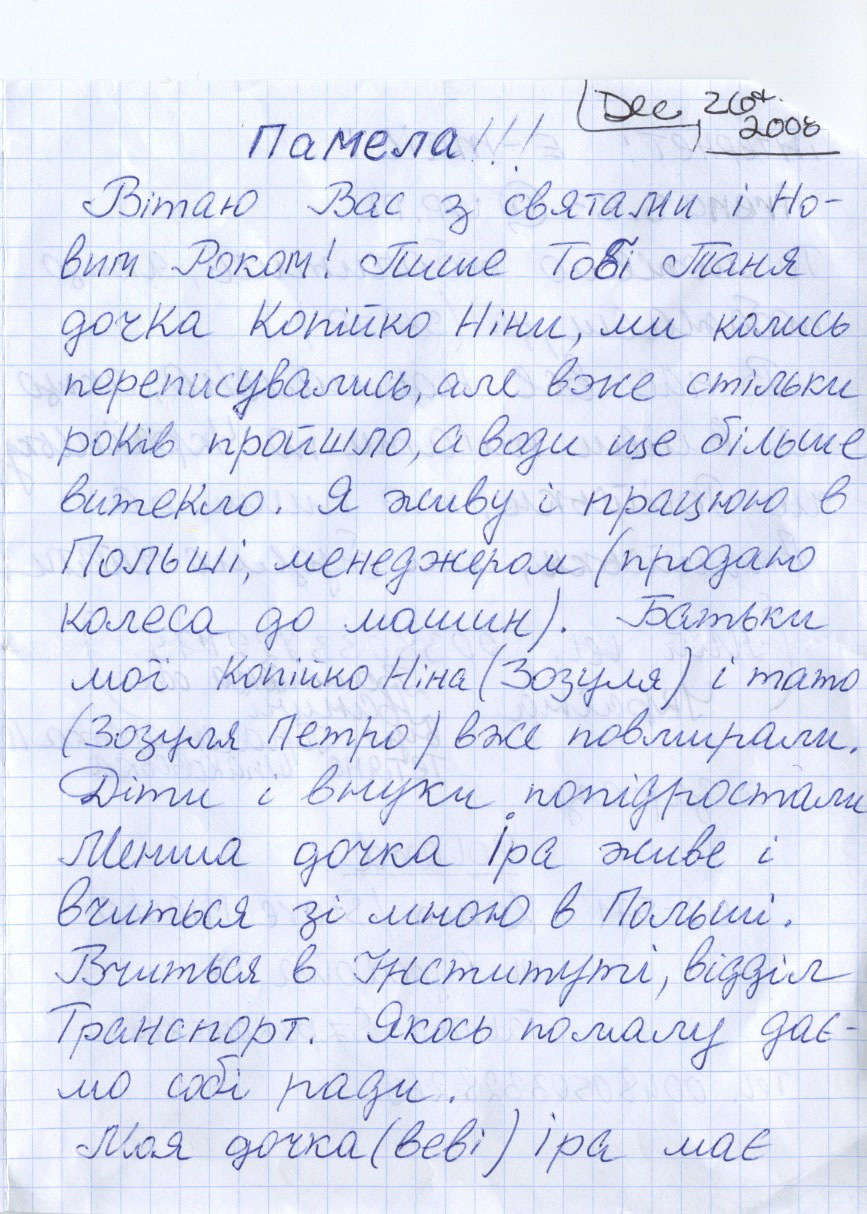
I know the first word is Pamela, which is my mom’s name. But after that I cannot quite make it all out.
Another great experience with the terminal. Since I reformatted I lost macfuse and sshfs to mount my server’s drive to my mac os x desktop to transfer files I had to find an alternative. Yes I could use some FTP client but since I have learned how unsecure ftp can be I have started to used the command line anyways. So to transfer my files I learned about scp. Great little utilty. Here’s the command:
scp file username@server:directory
Command Line, Terminal
Sometimes things just don’t have to be hard. A while back I had this premonition about my newly bought MacBook that I was going to use the Terminal for everything because the shell is just so cool in my geeky major of Comuter Information Technology. Well I have certainly not held strong with my idea. But Josh will be glad to know I have used it and gained experience with it so I feel comfortable enough where I can go and do the small things without any hesitation. So I had made a folder with all these pictures (about 90 pictures) in it. I wanted to be a little more organized and so I wanted to move all those pictures into another folder. There were still a few lingering files in the folder as well that I did not want moved. So the Terminal was much quicker.
mv *.jpg folder/
Instantly the task was done and I didn’t have to worry about scrolling up the screen to grab all the right items and ordering them. Just take the pictures and put them in the folder. I know this seems elementary to you all out there, and I am sure in a few years it will to me as well, but in the mean time I will just bask in my geekness.
I am using VMWare Fusion 2 on a Mac. The disk size is 20 GB. Sharing will be disabled. I will give it 1 GB of Ram. I will use NAT for the network connection. The way I understand Fusion is basically the DHCP and gives the VM OS the same IP address every time. I will use the SLES SP 2 ISO for the CD drive. I will use a 10 GB disk size split into 2 GB files.
- Select Installation (Down arrow once)

- Second option is to select the language and click next.

- Yes, accept the license agreement and click next.

- select “New Installation Mode”

- Choose the time zone and local time and click next.

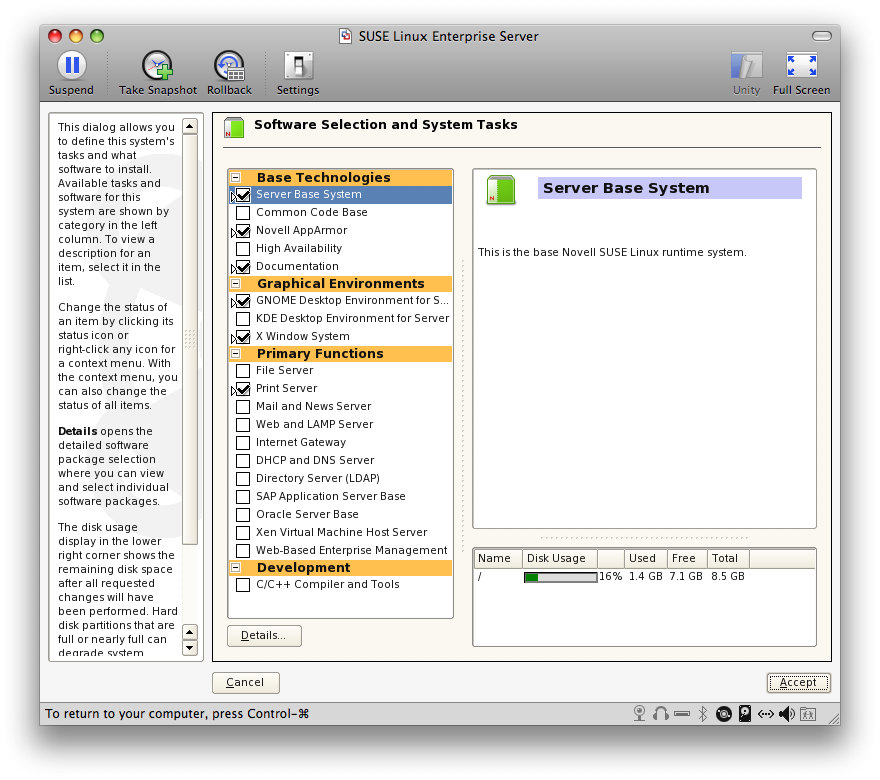
- Check all the settings one more time you will find KDE is not part of the defualt install. so you can click on change close to the bottom of the screen,

- Select KDE Desktop as well as C/C++ compiler tools and accept.

- It will ask you to confirm the package license, so click I Agree.

- It will then ask you to confirm the installation, so click on Install.

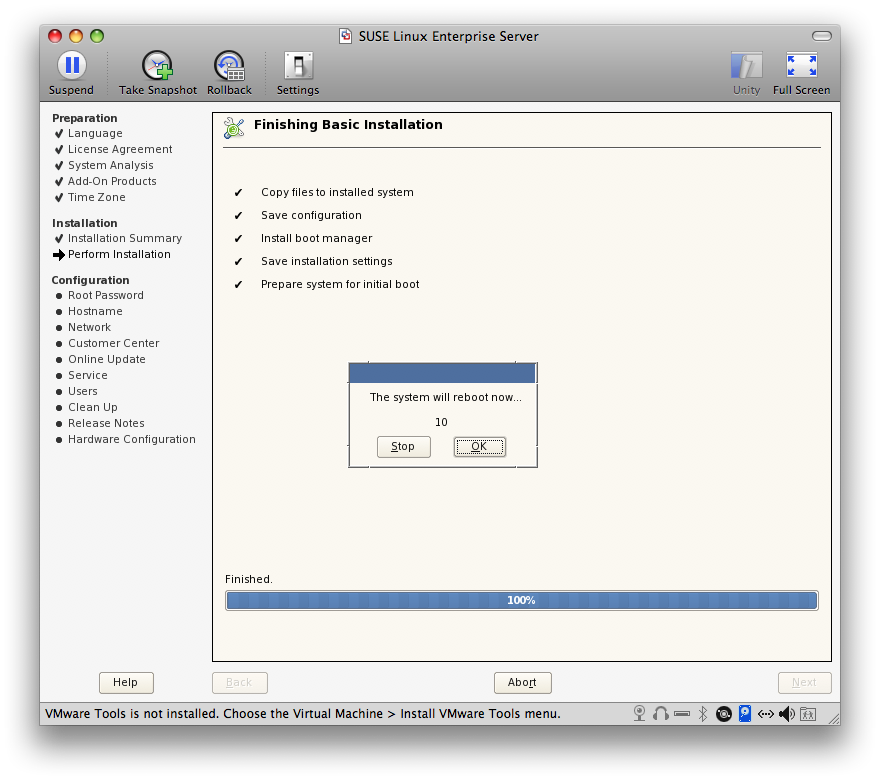
- Then it will take a bit, but it will go through and perform the install.

- It will then ask you for a root password.

- Password Warning.

- Password Warning.

- Password is too short.

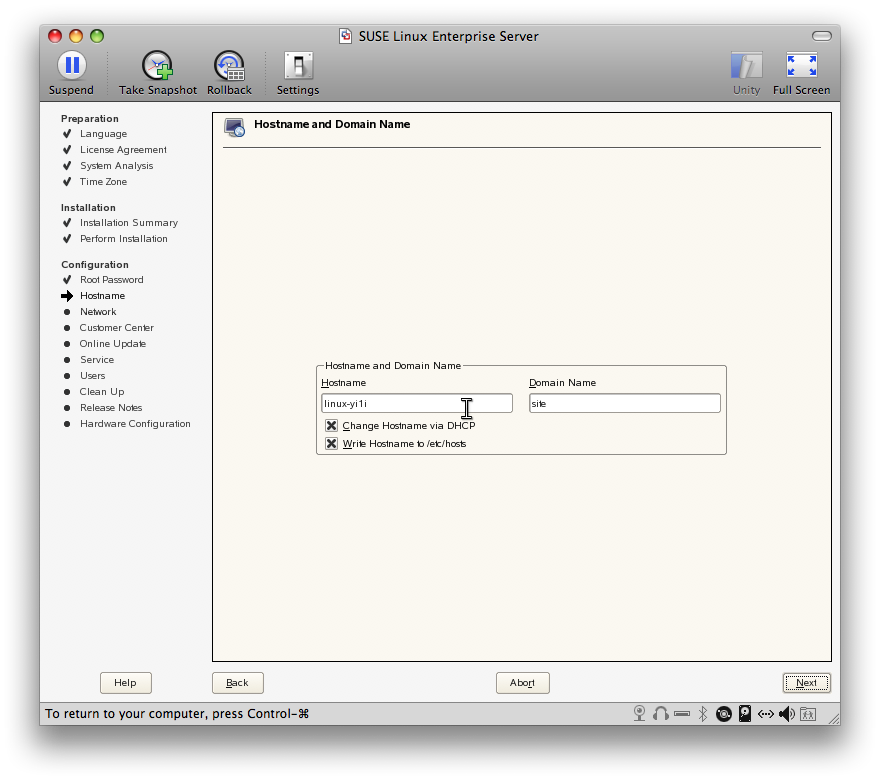
- Specify the hostname and domain name.

- Looking for DSL Devices.

- Looking for PPPoE DSL Devices.

- Looking for ISDN cards.

- Looking for Modems.

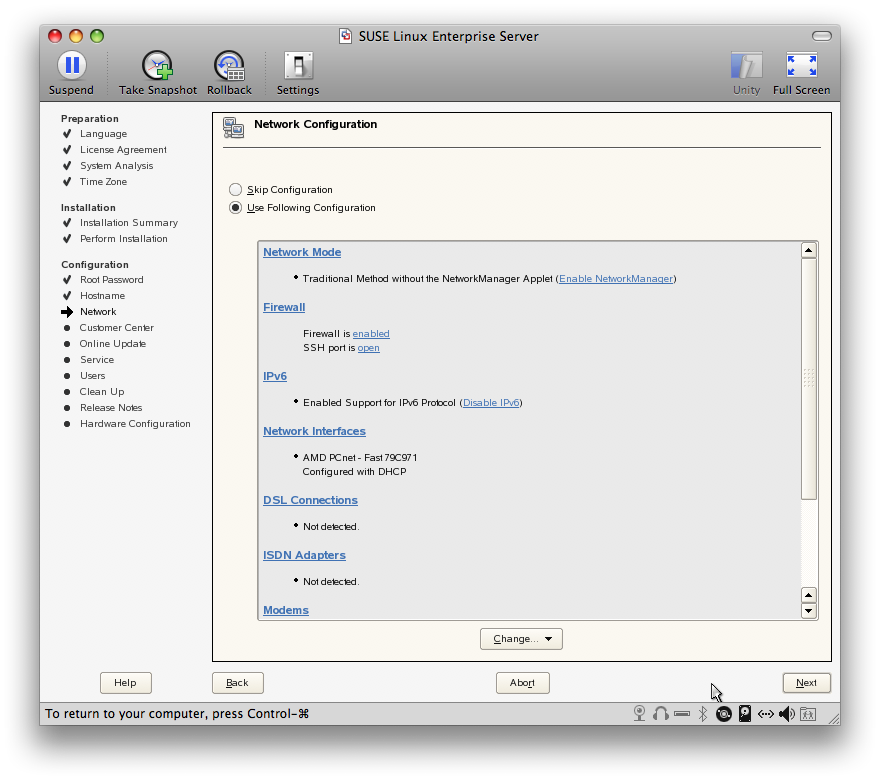
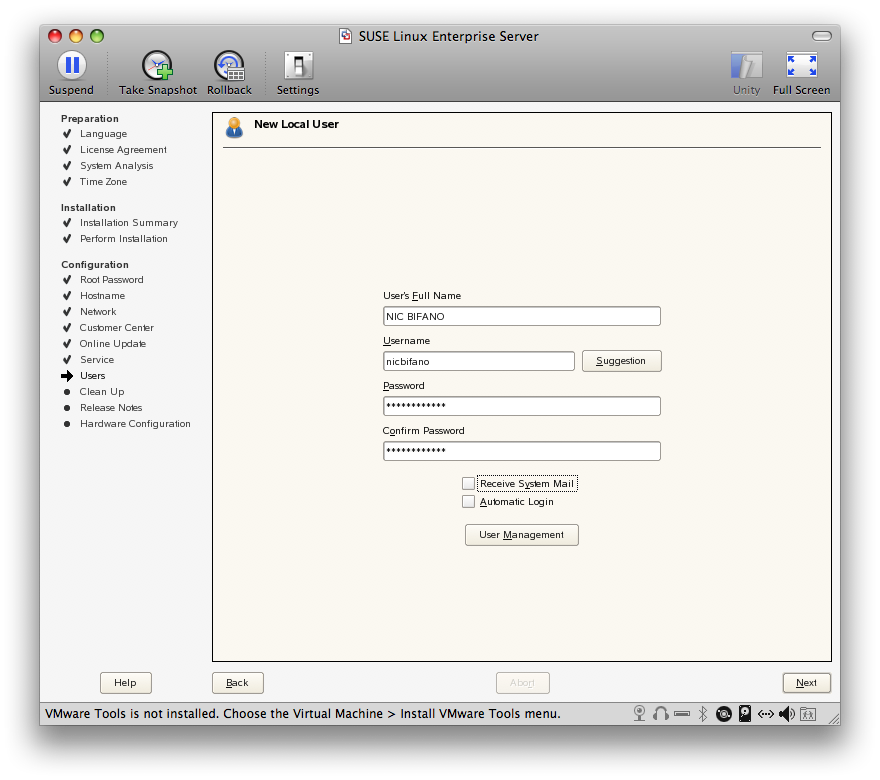
- Auto Detecting the Network connection settings. Notice SSH port is block. Click change and we will enable that.

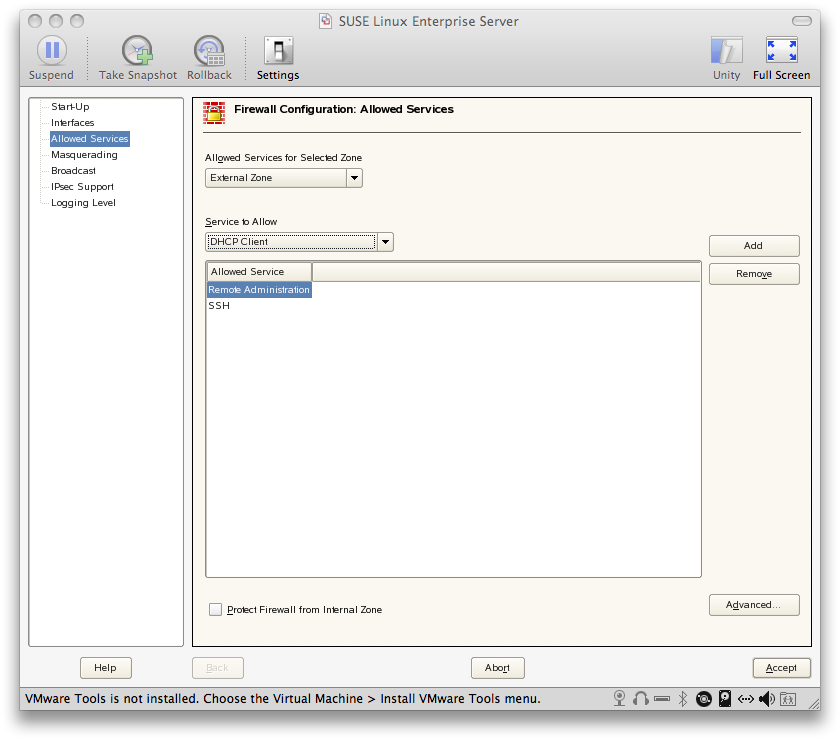
- Under the Dropdown for service to allow click on SSH and Remote Administration and Add them from the right.

- Now it shows Open, click next

- Internet Connection Test

- Successful internet connection

- Connect to Customer Care

- Waiting for Novell Customer Care Center

- This is an error not being able to connect to customer care.

- Skip the customer support info.

- This has to do with remote login I am assuming.

- Check the appropriate Authenticate method.

- Username and password:

- This is the Release notes for SLES.

- This will auto detect the hardware.

- Check all the Hardware configurations to see if they were auto detected correctly.

- Finish the installation.

- Now you are ready to log in.

Automount shared volumes in OS X
I read this article online about how you can Automount a shared network drive based on your current wireless network. This is something I will definately want to pursue as I have network volumes at home I am continuously connecting to but then the next day when I return to school I also have network drives I mount to my mac when I am doing things for work or sometimes classwork. Any insight might be appreciated. Please leave comments. Here is the article I was reading. This code does not completely comply with what I am trying to do, but it gives you an idea of the possibilities. I would like to refresh my network drive shares every time my computer wakes up. Also I was having a hard time with ruby as the language, maybe I find another implementation that I might feel more comfortable with. Maybe
Python or something?
