So in an effort to further my skills and my pure geekness as a CIT major and a cleanfreak in general I have drastically improved my knowledge by trial and error yet once again. The trying and erroring was mostly done by me and one question to codekoala and the mystery solved. So the situation is I sometimes want to download a large file and i don’t want to have use firefox and open the whole browser. Well I also want to use a completely native application on my mac just for the sake of keeping my mac not clogged up with so much stuff. I could have installed macports and I actually did to use wget from within the command line but curl is already native and so I started experimenting with it. At first I just did: curl URL As you very well may know this just spitts the download to standard out and prints I think ASCII to the screen as it is being downloaded. Well, my very limted knowledge of linux and unix told me well just see what happens, maybe the file will show up. So I started checking in the directory, nothing. So then codekoala came online, I asked him and he told me.
So here is the command:
curl -O url
what the -O does: it says instead of spit this out as standard out on the command line put it to the file with the same name as it has on the web server.
Don’t I feel like a smart one. 🙂
Tag: Terminal
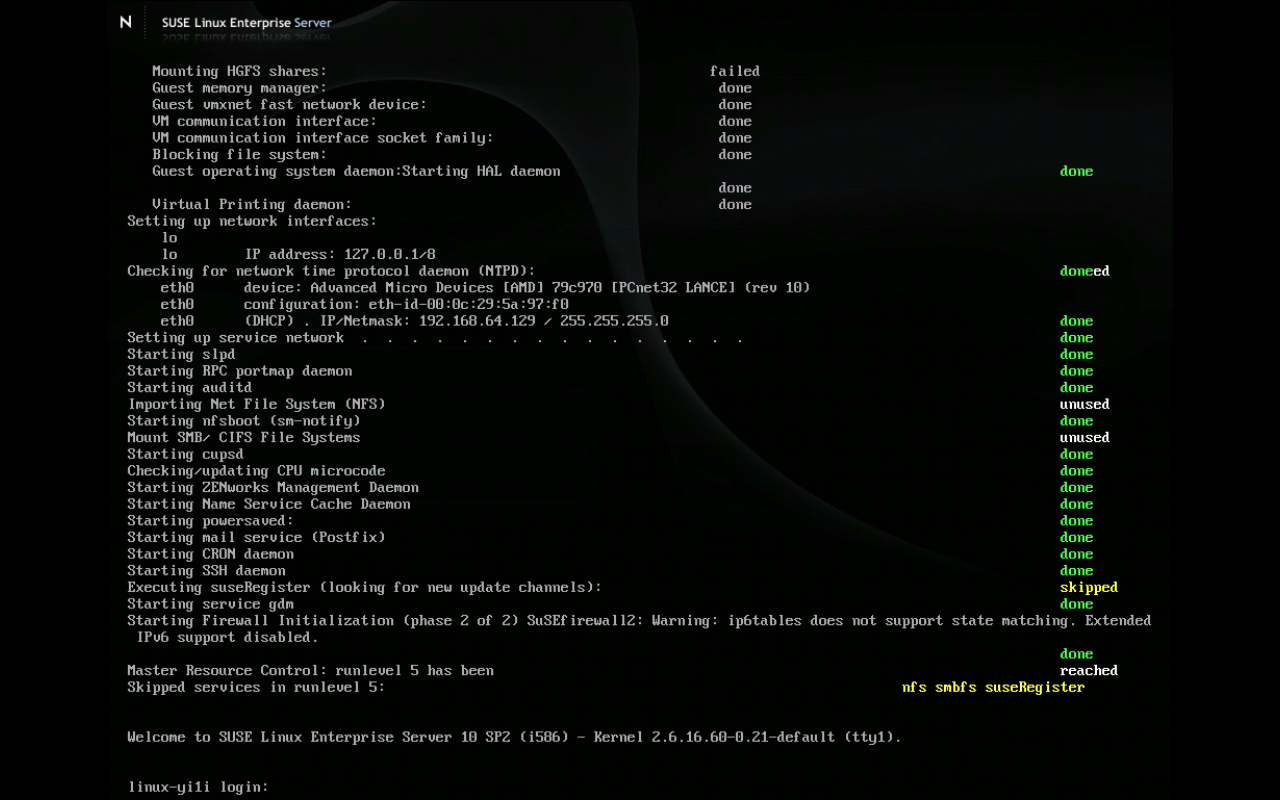
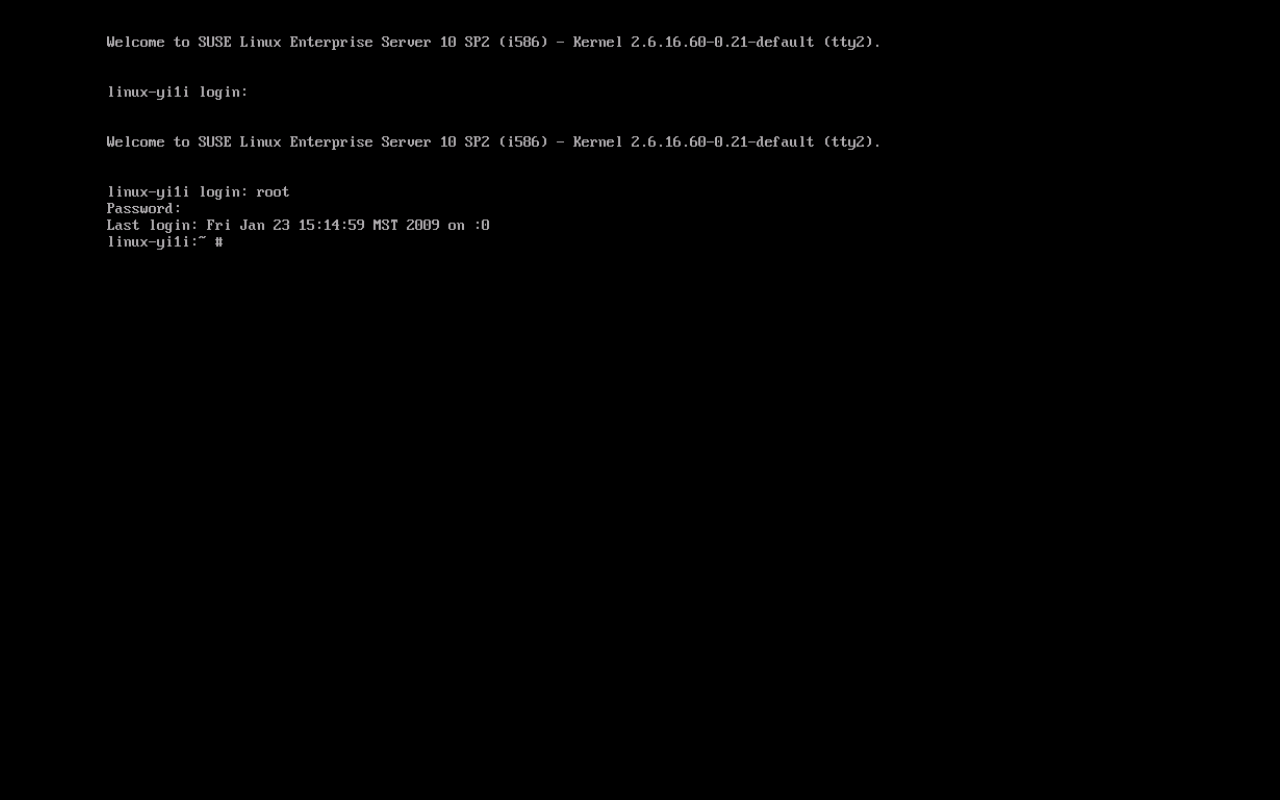
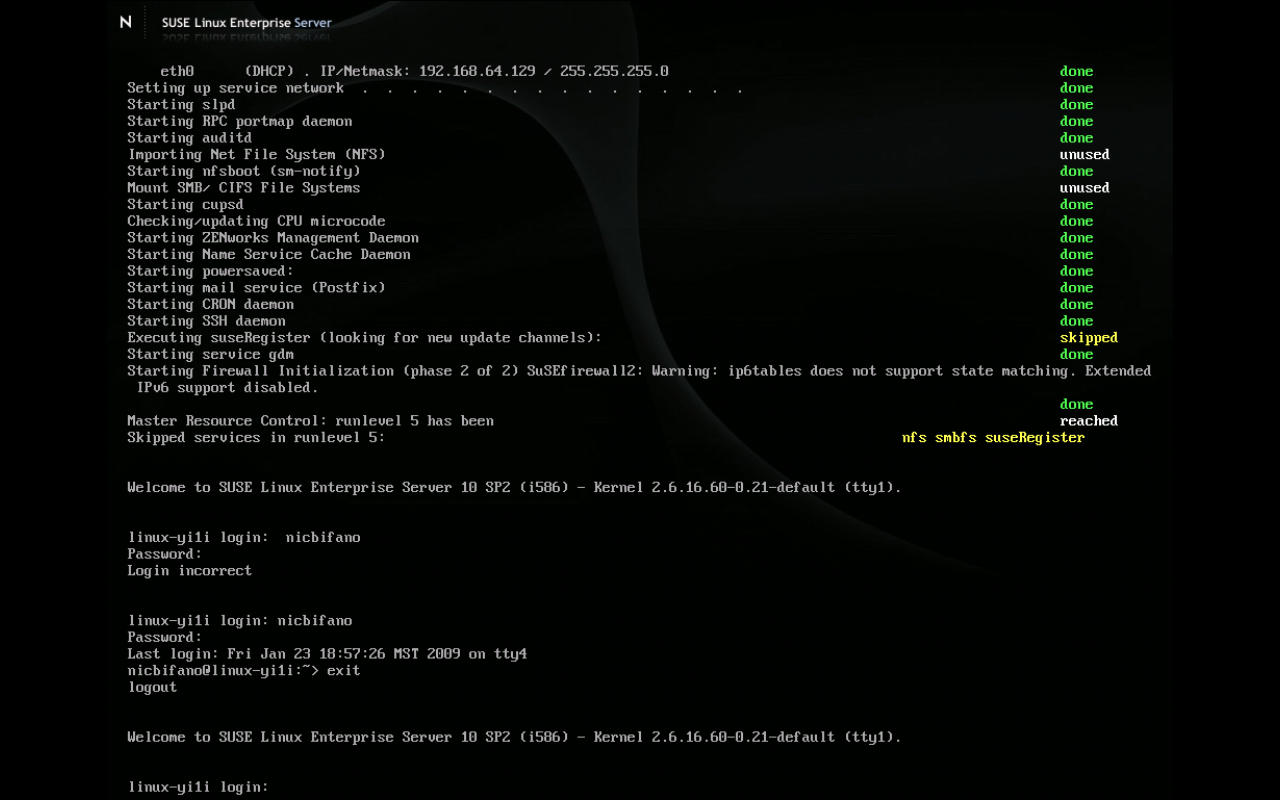
- Switch the first virtual terminal by pressing ctrl + alt + f1. to get the f1 to go i have to press the function button.

- switch to second virtual terminal with ctrl + alt + f2

- logout by typing exit

Another great experience with the terminal. Since I reformatted I lost macfuse and sshfs to mount my server’s drive to my mac os x desktop to transfer files I had to find an alternative. Yes I could use some FTP client but since I have learned how unsecure ftp can be I have started to used the command line anyways. So to transfer my files I learned about scp. Great little utilty. Here’s the command:
scp file username@server:directory
Command Line, Terminal
Sometimes things just don’t have to be hard. A while back I had this premonition about my newly bought MacBook that I was going to use the Terminal for everything because the shell is just so cool in my geeky major of Comuter Information Technology. Well I have certainly not held strong with my idea. But Josh will be glad to know I have used it and gained experience with it so I feel comfortable enough where I can go and do the small things without any hesitation. So I had made a folder with all these pictures (about 90 pictures) in it. I wanted to be a little more organized and so I wanted to move all those pictures into another folder. There were still a few lingering files in the folder as well that I did not want moved. So the Terminal was much quicker.
mv *.jpg folder/
Instantly the task was done and I didn’t have to worry about scrolling up the screen to grab all the right items and ordering them. Just take the pictures and put them in the folder. I know this seems elementary to you all out there, and I am sure in a few years it will to me as well, but in the mean time I will just bask in my geekness.
Automount shared volumes in OS X
I read this article online about how you can Automount a shared network drive based on your current wireless network. This is something I will definately want to pursue as I have network volumes at home I am continuously connecting to but then the next day when I return to school I also have network drives I mount to my mac when I am doing things for work or sometimes classwork. Any insight might be appreciated. Please leave comments. Here is the article I was reading. This code does not completely comply with what I am trying to do, but it gives you an idea of the possibilities. I would like to refresh my network drive shares every time my computer wakes up. Also I was having a hard time with ruby as the language, maybe I find another implementation that I might feel more comfortable with. Maybe
Python or something?
Time Machine External Drives
So I got a great deal on a Maxtor One Touch 4: 1TB for 140. I am no math wiz but isn’t that like 14 cents per gig. I have to say, it was a good deal. I bought this drive to replace my previous time machine backup drive. One big problem with this. It came preformated with the wrong filesystem. Well, I had the hardest time with Disk Utility to format the drive to the correct format. I kept getting errors when I wanted to format it to HFS or really anything but MS-DOS. So after much google-ing, I finally just decided to delve into the old command line and just get it done. That’s the great thing about a MAC is when all esle fails. The Unix background of a MAC just enables you to just get it done. I chose to use the diskutil and erase the disk and format it to the Journaled HFS+ format which is the prefered for Time Machine.
Here’s the command to type into the terminal window:
diskutil eraseDisk JournaledHFS+ WhateverYouWantToCallYourNewDrive disk1
This seemed to work relatively fast as well.


